
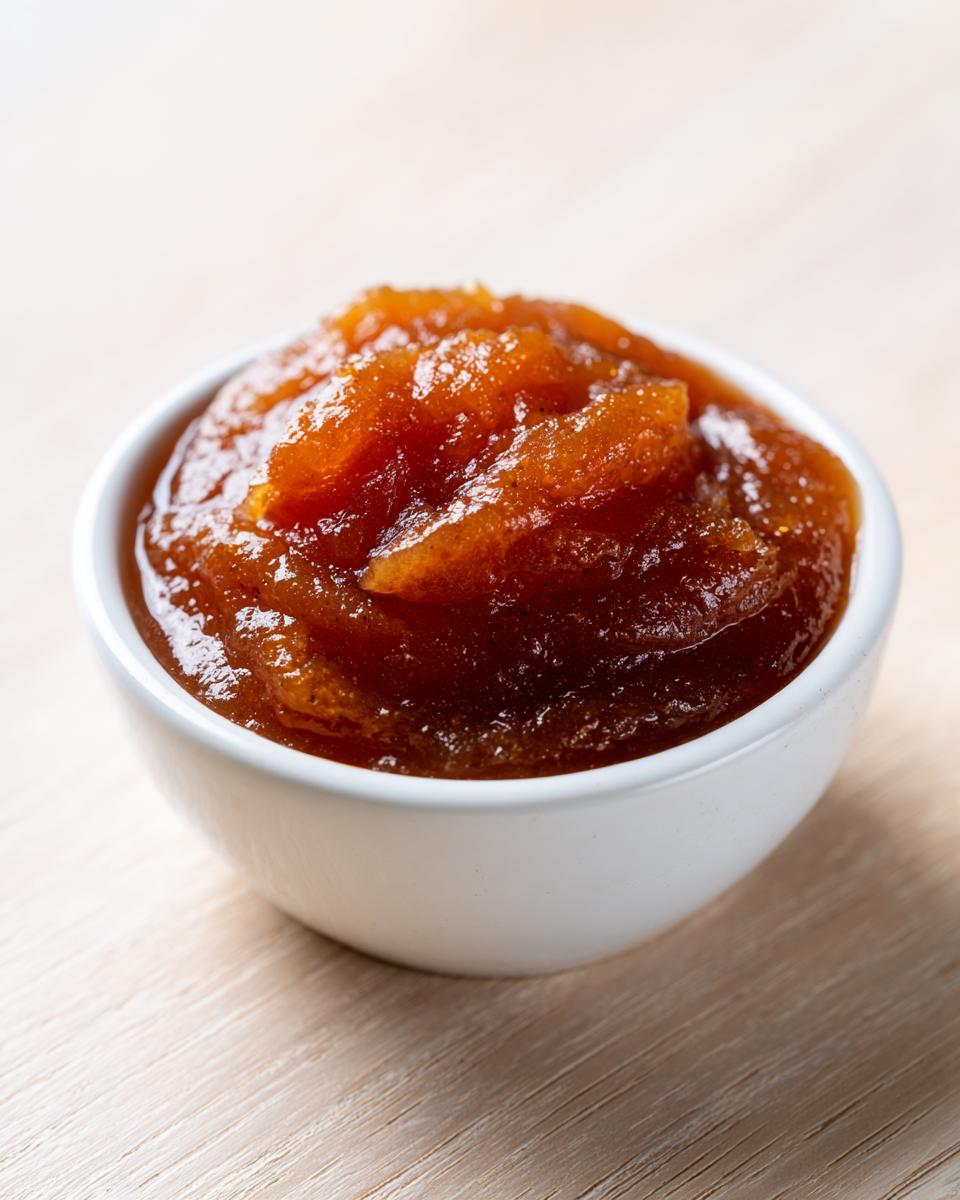
Oh, I absolutely love when the air starts getting that crisp edge, signaling it’s time for cozy kitchen projects! There’s just something incredibly comforting about simmering fruit until it turns into a deep, velvety spread. If you’ve ever wanted to make incredible **pear butter** but weren’t sure which appliance to use, I’ve got you covered. This is my Master Spiced Pear Butter recipe, and the best part is that I’ve refined it so you can use your Slow Cooker, your trusty Instant Pot, or even just your stovetop. As I was finding my rhythm back in the kitchen, I realized that making something like this—something slow and flavorful—was the perfect way to reclaim those simple joys. This recipe proves that gourmet taste doesn’t have to mean complicated steps!
- Why This Easy Pear Butter Recipe is Your New Fall Favorite
- Gathering Ingredients for Perfect Spiced Pear Butter
- How to Make Pear Butter: Slow Cooker, Instant Pot, and Stovetop Tutorial
- Achieving the Perfect Texture for Your Pear Butter
- Ingredient Notes and Flavor Variations for Spiced Pear Butter
- Canning Pear Butter for Long-Term Storage and Gifting Homemade Spreads
- Serving Suggestions for Your Sweet Pear Spread
- Frequently Asked Questions About Making Pear Butter
- Storing Your Homemade Pear Butter
Why This Easy Pear Butter Recipe is Your New Fall Favorite
I know you see a lot of “easy” recipes out there, but I truly mean it when I say this Homemade Pear Butter is designed to fit *your* schedule. Seriously, it’s the most reliable sweet pear spread you’ll ever make. I trust this method implicitly because it never fails, and it’s so flexible!
Here’s why I keep coming back to this version:
- You don’t need any added pectin. The pears thicken up naturally as they cook down, concentrates that fruit flavor beautifully.
- It works in three major appliances! Crockpot, Instant Pot, or stovetop—you pick what works best for your day.
- The spice profile is just right—warm, cozy, and perfectly balanced with just enough sweetness from the brown sugar.
Once you try this, I bet you’ll be coming back to it every autumn. If you love these cozy fall flavors, you might also want to check out my recipe for moist sweet potato muffins!
Gathering Ingredients for Perfect Spiced Pear Butter
Before we dive into the cooking methods, we absolutely need to talk about what goes into the pot! Getting your ingredients ready is half the battle when making any kind of spread, especially when you’re aiming for that rich, thick Homemade Pear Butter texture. We’re using four pounds of ripe pears—make sure they’re soft to the touch! Along with our fruit, we’re bringing in one cup of packed brown sugar, which is essential for that deep, molasses note. We also add a quarter cup of water just to get things started, plus our wonderful spice team: cinnamon, ginger, and cloves. Don’t forget the little bit of lemon juice to brighten everything up at the end, or the vanilla extract for warmth!
It’s so important to prep everything correctly. You’ll take those ripe pears, peel them completely, core them out, and then cut them into quarters. Honestly, the quality of your pears is what makes or breaks this recipe. Check out some great fruit recipes you can make while you wait, like my easy homemade applesauce, to get your preserving mindset warmed up!
Selecting the Best Pears for Pear Butter
When choosing your fruit, you have a couple of champions. Bartlett pears are wonderful because they break down super easily during cooking, giving you that buttery smoothness almost automatically. If you like a little more structure even after hours of cooking, Anjou pears are a fantastic choice. Either way, you want them ripe! A slightly softer pear means less cooking time to get tender, which is exactly what you want for a great batch of preserve, whether you’re using the slow cooker or the stove. You can even find great tips over at the official pear site about using different varieties, like their recommendation for brown sugar pear butter.
How to Make Pear Butter: Slow Cooker, Instant Pot, and Stovetop Tutorial
Okay, this is where the actual magic starts! Since every kitchen setup is different, I developed this versatile recipe for making amazing pear butter. First things first, no matter which route you take, grab your prepared pears—remember, peeled, cored, and quartered—and drop them right into your chosen cooking vessel. Then, toss in that brown sugar, the water, and all those beautiful spices we talked about. Give it a good stir so everything gets cozy together. Now you get to choose your cooking adventure!
If you’re looking for that true “set it and forget it” autumn vibe, you’ll want to use the slow cooker. If you’re rushing, the pressure cooker is your hero. And if you just love hovering over a pot, smelling everything bloom, the stovetop is classic. No matter what, the goal is softening those pears until they practically melt. Don’t forget that if you love cooking fruit down on the stove, you absolutely have to try my recipe for easy stovetop apple pie filling! This core process ensures we get the best possible outcome for your Pear and Spice Recipe.
Method 1: Simple Crockpot Pear Butter Recipe
For the Slow Cooker, I almost always recommend cooking on LOW for about 6 to 8 hours. Yes, it takes time, but you seriously can walk away and not worry about it—that’s the beauty of the Crockpot Pear Butter method! If dinner needs to happen faster, you can bump it up to HIGH for 3 to 4 hours. When they are done, the pears will be incredibly soft and totally ready for blending. It’s just fantastic for effortless Slow Cooker Fruit Butter. For more great slow cooker ideas, check out this recipe from Viral Cooking!
Method 2: Quick Instant Pot Pear Butter
If you’re short on time, the Instant Pot is going to feel like cheating because it’s so fast! Once everything is combined, seal up your pot and cook on High Pressure for just 15 minutes. The key here is patience after it cooks: let that pressure release naturally for a full 10 minutes before you mess with the valve. This helps everything settle down nicely. It’s a wonderfully quick way to get that smooth texture using the Instant Pot system.
Method 3: Classic Stovetop Pear Butter Tutorial
The traditional way is hard to beat, even if it requires a little more stirring. Bring your pot up to a good boil over medium-high heat. Once she’s bubbling happily, drop the heat way down to low, put the lid on, and let it simmer gently for about two hours, or until those pears are completely tender. While simmering, make sure you stir it every 20 minutes or so, especially toward the end. We want that rich spread; we don’t want scorching on the bottom, right? This Stovetop Pear Butter Tutorial really concentrates the flavors when making a Fruit Butter for Toast!
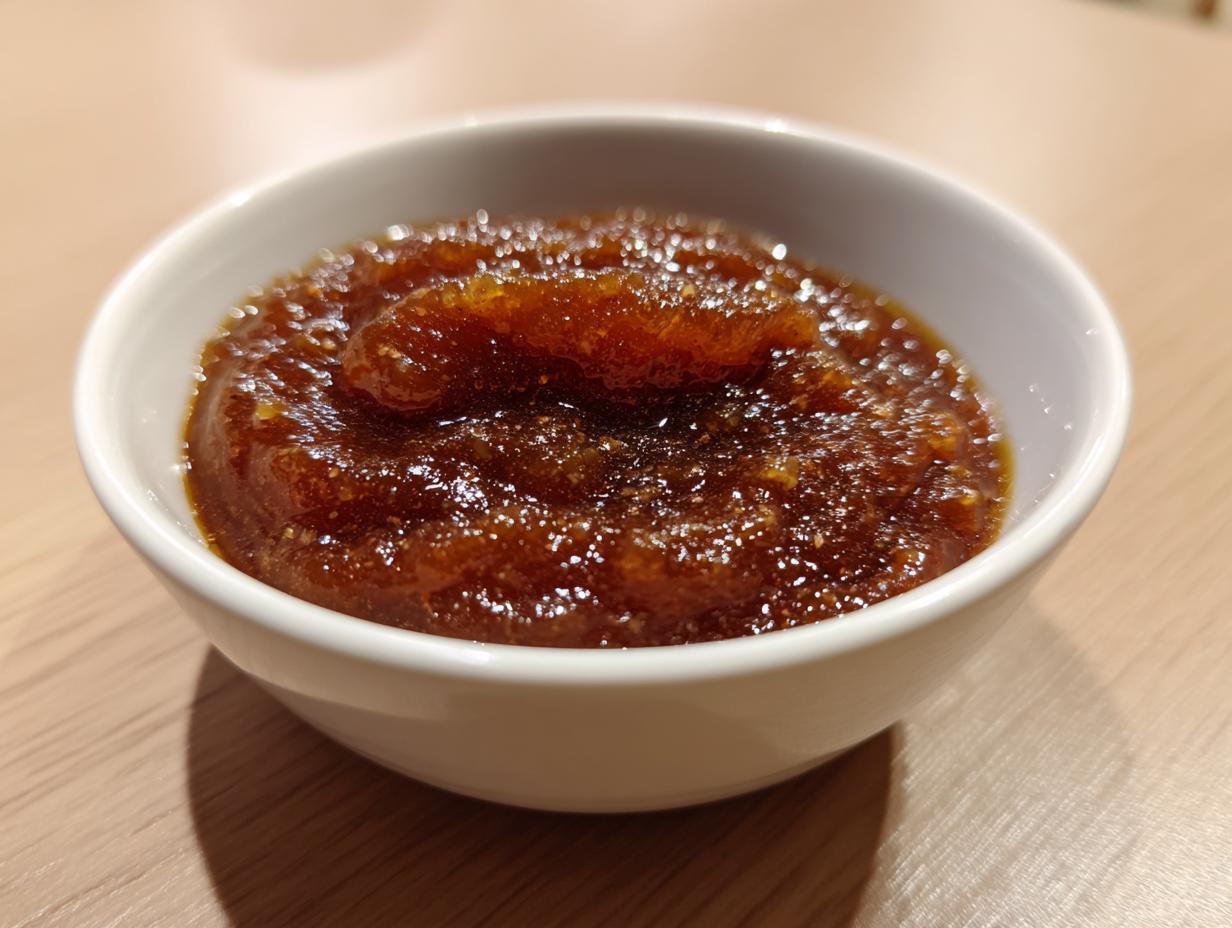
Achieving the Perfect Texture for Your Pear Butter
So, your pears are soft, everything is cooked down—now we move on to the texture, which is what separates a good sauce from truly fantastic Easy Pear Butter Recipe. Once the fruit is tender, we have to blend it until it’s silky smooth. Carefully move the mixture to your blender, or you can use the immersion blender right in the pot—just be careful splatter!). Don’t forget to add the splash of vanilla and that lemon juice for brightness before you whirl it all up! It often looks pretty loose at this stage, but don’t sweat it for a second.
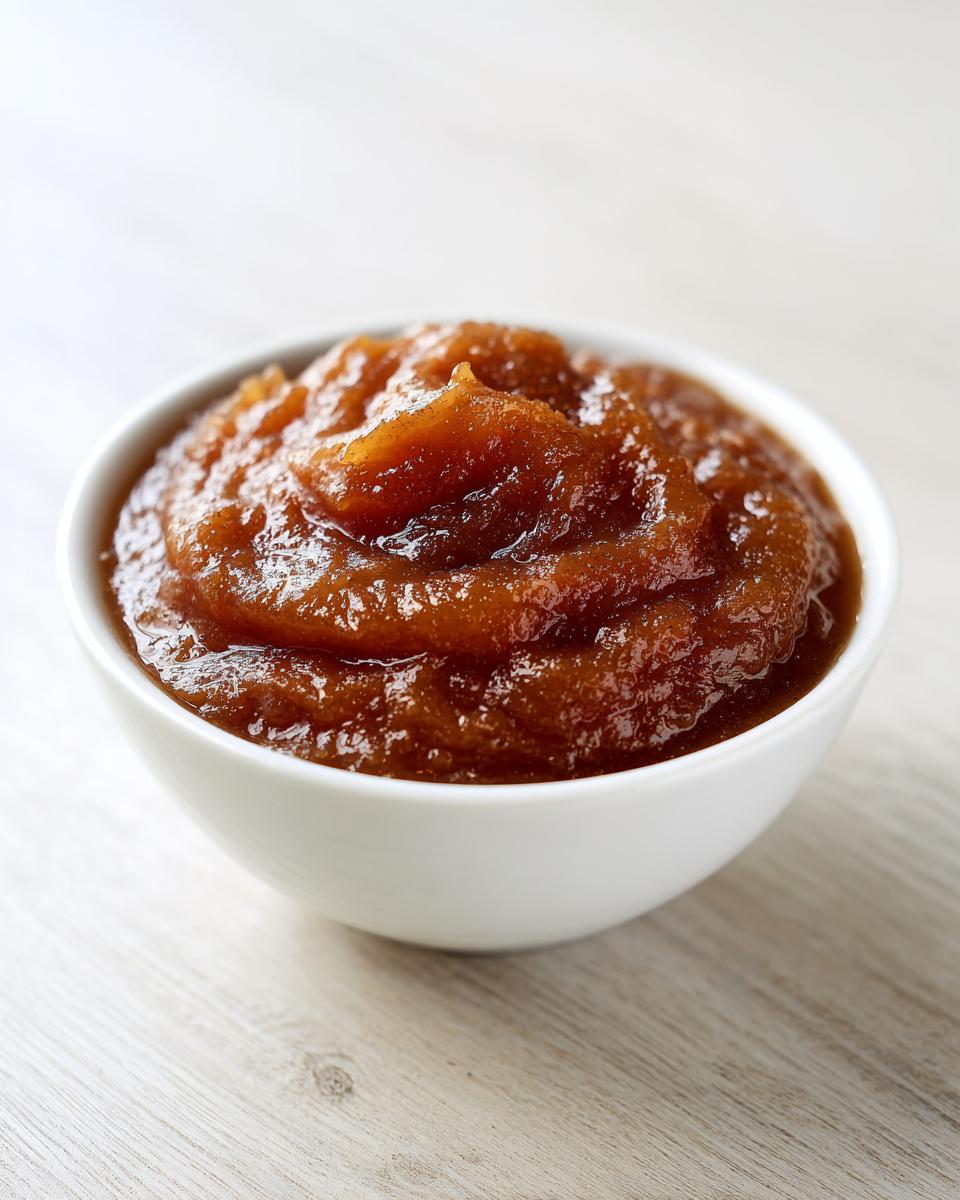
If your pear butter seems a little thinner than you’d like—and remember, we are aiming for a spread, not a sauce—we need to thicken it up. Pour it back into the pot, but this time leave the lid off. Let it simmer gently over medium-low heat, stirring frequently, until it coats the back of a spoon beautifully. I always test by dragging my spoon across the bottom of the pot; if the butter doesn’t immediately flow back to fill the trail, you’ve hit that perfect consistency! This final simmer concentrates all those gorgeous spice flavors. It’s worth every minute! If you want to practice thickening things, try my recipe for easy chocolate mousse; the principle of patience is the same!
Ingredient Notes and Flavor Variations for Spiced Pear Butter
This basic recipe for luscious Spiced Pear Butter is fantastic on its own, but you know me—I love giving you options to make it truly yours! The beauty of this harvest preserve is how easily it adapts to other fruits or a little extra decadence. I’ve jotted down a few ways I’ve played around with the batch while testing, just like I do with my maple brown sugar cookies. These little tweaks are what turn a standard recipe into your signature favorite!
Creating Apple Pear Butter Variations
If you have a few stray apples hanging around that need to use up, you have to try the Apple Pear Butter combo. It’s truly the best of both worlds! For this version, simply swap out one pound of your peeled and cored pears for a firm, tart apple—Granny Smith works perfectly. The apple adds a little extra tang that pairs so nicely with the sweet spice mix we already have in our base recipe.
Adding Salted Caramel to Your Pear Butter
Now, if you’re feeling like turning this into a truly special treat—maybe for holiday gifting or just because it’s Tuesday—you simply must try the salted caramel version. This is added right at the end, after you have blended the butter smooth. Just mix in about a half teaspoon of salt along with 1/4 cup of a soft caramel sauce. Honestly, this addition makes the spread incredibly rich and decadent. If you don’t have homemade sauce ready, you can whip up a batch using my easy caramel sauce recipe!
Canning Pear Butter for Long-Term Storage and Gifting Homemade Spreads
Now that you have this gorgeous, thick pear butter, you might be wondering how to keep it around past next week! If you’re like me, you want to make a huge batch once the pears are perfectly ripe so you can enjoy these Fall Preserves all winter long. Plus, jarred homemade fruit butter makes the most thoughtful gift, don’t you think? I love giving these away, especially around the holidays.
To keep your spread safe for months, you’ll want to use the water bath canning method for your jars. Make sure your jars and lids are clean, and keep them hot! Once your pear butter is smooth and thick, ladle it into the hot jars, leaving about a quarter-inch of headspace at the top. Wipe those rims clean—this is non-negotiable for a good seal!—and screw on the bands fingertip tight.
Then, process those sealed jars in a boiling water bath canner for exactly 10 minutes. Once they cool, you should hear those satisfying pings as the seals form! If you are newer to this, I have a great guide on making freezer jam that walks through general jar safety, which is a good warm-up before you start hot water bath canning. For more specific canning tips for richer spreads, this link on canning salted caramel pear butter has excellent, reliable advice for long-term storage!
Serving Suggestions for Your Sweet Pear Spread
Now that you have a beautiful batch of homemade pear butter finished and cooled, what do you do with it all? Honestly, I could just eat it straight with a spoon! But it really shines when used as a substitute for jams or jellies. It’s incredible spread thick on a warm biscuit, straight from the bakery.
If you’re looking for a healthy breakfast booster, swirl a big dollop right into your morning oatmeal—the spices are just divine mixed with the warmth of the oats. And here’s a fun one for company: it’s amazing on a cheeseboard! Pair it with a sharp cheddar or a creamy brie; the savory cheese cuts through the sweetness perfectly. If you’re serving these up with tasty bread, you’ll need a good recipe like my soft dinner rolls to go with it!
Frequently Asked Questions About Making Pear Butter
I’ve gotten so many wonderful notes and emails since I started sharing this pear butter recipe! It seems like everyone has a quick question about adapting it for their pantry or lifestyle. Here are some of the most common things folks ask me when trying to make their first batch of these delicious Winter Fruit Spreads.
Can I make pear butter without adding any sugar?
That’s a great question if you’re watching sugar intake! Our recipe does call for brown sugar, which really helps create that thick, spreadable texture and deep color, but you can absolutely cut it back significantly. If you use naturally very sweet, ripe pears, you might even be able to skip it entirely. Just be aware that if you remove all the sugar, your final product might be slightly thinner and less syrupy than the recipe intends. You might need an extra hour of simmering time to get that perfect spread consistency for your Homemade Pear Butter.
What is the difference between pear butter and applesauce?
This is where people often get tripping up, but it’s pretty straightforward once you know the secret! Both start similarly, but the goal is different. When we make applesauce, we usually cook it until it’s soft, blend it, and we’re done—it’s meant to be spoonable. For pear butter, we cook the fruit down much, much longer—sometimes for hours more—until almost all the water content has evaporated. This process concentrates the flavor intensely, and we usually add more spices than you would typically use in a standard applesauce. The end result is a thick, dark spread that stays beautifully on a piece of toast, rather than running off like a sauce would!
If you’re looking for more slow-cooked comfort food inspiration after you finish canning your batches, you should check out my recipe for creamy old-fashioned rice pudding!
Storing Your Homemade Pear Butter
You’ve put in the time, chosen the perfect pears, and simmered it down to perfection—so how do we keep this wonderful Sweet Pear Spread fresh? I get it; we want to enjoy the fruits of our labor for as long as possible! Storage really depends on whether you took the time to can it or if you decided to keep it handy in the fridge.
If you sealed your jars using the water bath canning method we talked about briefly, they are shelf-stable for up to a year if stored in a cool, dark pantry. Just check that seal hasn’t popped before opening!
For jars you’re keeping in the refrigerator—maybe the ones you opened right away or those that didn’t seal perfectly—you can expect them to last for about three weeks. Since this is a No Pectin Fruit Butter, it stays quite fresh, but always keep an eye out for any weird smells or mold, just like you would with any homemade preserve. For beginners, I always recommend keeping a small batch refrigerated and canning the rest immediately. If you want to practice your storage skills, you can look at my guide for refrigerator pickles—the same rules about clean jars and tight lids apply!
PrintMaster Spiced Pear Butter: Slow Cooker, Instant Pot, and Stovetop Methods
Create rich, spiced pear butter using your preferred method: slow cooker, Instant Pot, or stovetop. This recipe uses ripe pears and warm spices for a spread perfect for toast or gifting.
- Prep Time: 25 min
- Cook Time: 4 to 8 hours
- Total Time: 8 hours 25 min
- Yield: About 4 half-pint jars 1x
- Category: Preserves
- Method: Slow Cooker/Stovetop/Pressure Cooking
- Cuisine: American
- Diet: Vegetarian
Ingredients
- 4 lbs ripe pears (Bartlett or Anjou), peeled, cored, and quartered
- 1 cup packed brown sugar (adjust to taste)
- 1/4 cup water
- 1 tablespoon ground cinnamon
- 1 teaspoon ground ginger
- 1/2 teaspoon ground cloves
- 1 teaspoon vanilla extract
- 1 tablespoon lemon juice
Instructions
- Prepare the Pears: Peel, core, and quarter the pears. Place the prepared pears into your chosen cooking vessel (slow cooker, Instant Pot, or large pot for stovetop).
- Combine Ingredients: Add the brown sugar, water, cinnamon, ginger, and cloves to the pears. Stir everything together.
- Cook: Choose your method:
- Slow Cooker: Cook on LOW for 6 to 8 hours or on HIGH for 3 to 4 hours, until the pears are very soft.
- Instant Pot: Cook on High Pressure for 15 minutes. Allow pressure to release naturally for 10 minutes, then quick release any remaining pressure.
- Stovetop: Bring the mixture to a boil over medium-high heat, then reduce heat to low, cover, and simmer for 1.5 to 2 hours, stirring occasionally, until the pears are tender.
- Blend: Carefully transfer the cooked pear mixture to a blender or use an immersion blender directly in the pot. Add the vanilla extract and lemon juice. Blend until completely smooth.
- Thicken (If Necessary): If the butter seems too thin, return it to the cooking vessel (or a saucepan for stovetop). Simmer uncovered over medium-low heat, stirring frequently, until the desired thick consistency is reached. This step concentrates the flavor.
- Cool and Store: Allow the pear butter to cool slightly before transferring it to clean jars. For short-term storage, refrigerate for up to 3 weeks. For long-term storage, process jars using a water bath canning method for 10 minutes.
Notes
- For a Salted Caramel Pear Butter variation, add 1/2 teaspoon of salt and 1/4 cup of soft caramel sauce after blending.
- If you use sweeter pears, reduce the brown sugar amount. Taste before adding all the sugar.
- Bartlett pears break down easily, offering a smooth texture, while Anjou pears hold their shape slightly more but still yield a good butter.
- For an Apple Pear Butter, substitute 1 pound of the pears with firm, tart apples like Granny Smith.
Nutrition
- Serving Size: 2 tablespoons
- Calories: 85
- Sugar: 21g
- Sodium: 1mg
- Fat: 0g
- Saturated Fat: 0g
- Unsaturated Fat: 0g
- Trans Fat: 0g
- Carbohydrates: 22g
- Fiber: 1g
- Protein: 0g
- Cholesterol: 0mg