

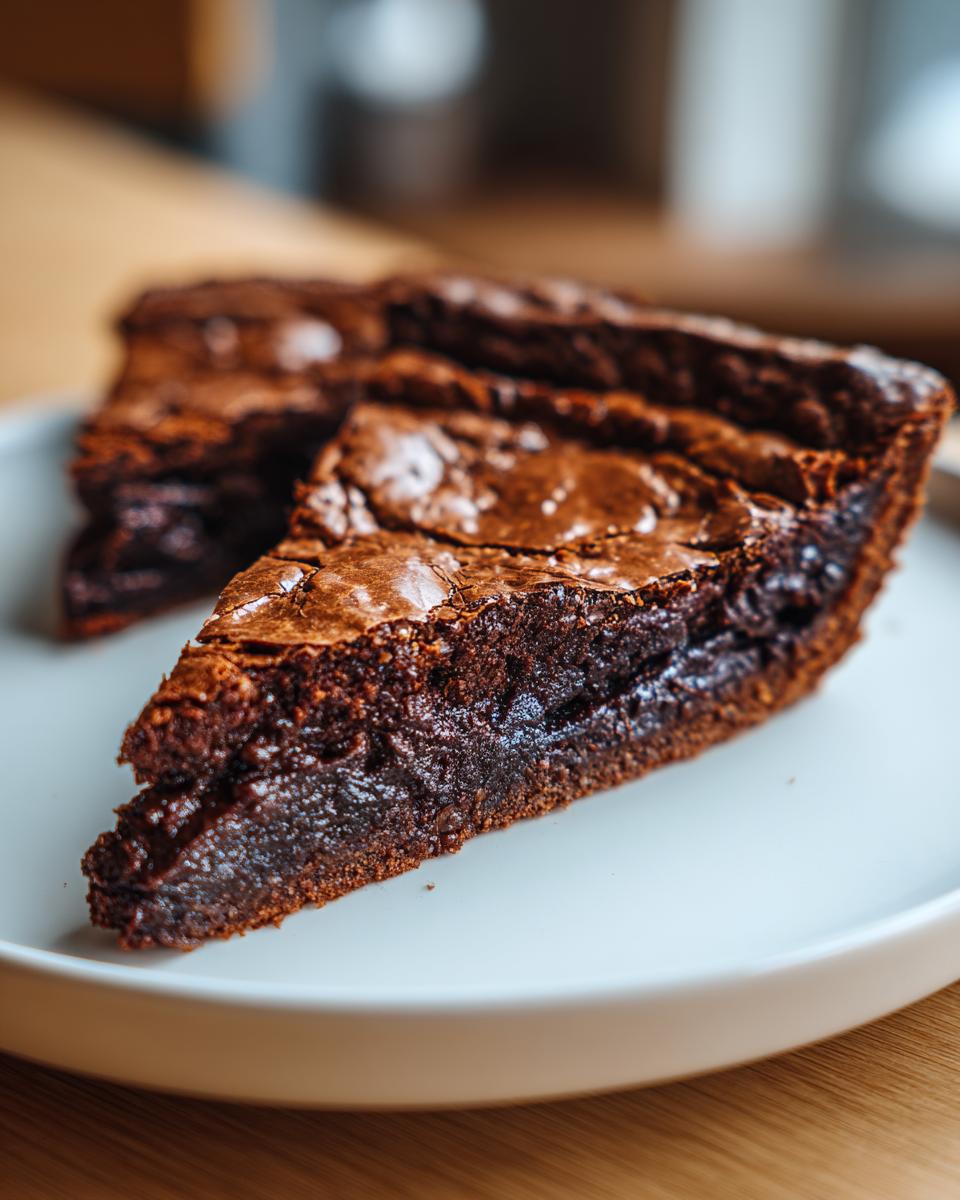
Oh, honey, do you ever just get that deep, undeniable craving for chocolate? Not just a little nibble, but the kind of deep, rich, soul-satisfying chocolate that makes everything right in the world? When those moments hit, you can’t fool around with light, airy cakes. You need substance. That’s why I’m giving you my very best recipe today: The Ultimate Gooey Old-Fashioned Fudge Pie. When I first started cooking again after my busy design days, I needed comfort, and nothing says comfort like a dessert that tastes exactly like a warm, decadent brownie baked right in a buttery crust. This isn’t some fussy, complicated thing; this is pure, simple, fudge pie glory.
- Why This Old-Fashioned Fudge Pie is Your New Favorite Rich Chocolate Dessert
- Ingredients for the Ultimate Gooey Fudge Pie
- Tips for Making a No-Fail Fudge Pie
- Step-by-Step Instructions for Your Fudge Pie Recipe
- Serving Your Decadent Chocolate Dessert Fudge Pie Warm
- Ingredient Notes and Substitutions for This Fudge Pie
- Storing and Keeping Your Old Fashioned Pie Recipe Fresh
- Frequently Asked Questions About Making Fudge Pie
- Estimated Nutritional Information for This Fudge Pie
Why This Old-Fashioned Fudge Pie is Your New Favorite Rich Chocolate Dessert
Let’s be honest, we all have a list of go-to comfort food desserts, and this one just jumped to the top! I developed this fudge pie because I needed something truly indulgent that didn’t take all day. It’s the perfect marriage of simplicity and decadence.
- It delivers that incredible, melt-in-your-mouth, Gooey Fudge Pie texture we all dream about. Seriously, it’s like a warm brownie that decided to move into a crust!
- As a classic Old Fashioned Pie Recipe, it uses ingredients found right in your pantry—no weird specialty items needed. That’s why it’s such an Easy Fudge Pie to whip up!
- This truly is a Rich Chocolate Dessert that shines, whether it’s the centerpiece of a big holiday table or just a Tuesday night treat for yourself.
You’re going to love how this amazing chocolate dessert comes together so quickly. I’ve linked to my chocolate peppermint cookies if you need another quick fix, but trust me, this pie is the real showstopper.

Ingredients for the Ultimate Gooey Fudge Pie
Okay, deep breaths. This is the part where we gather our supplies, and I want you to notice something right away: there’s nothing complicated here! This is why folks call this an Easy Fudge Pie. We are using pantry staples to achieve that deep, satisfying chocolate flavor.
For the very best fudge pie, you absolutely need a crust that stands up to that rich filling. I highly recommend using a pre-made crust if you’re in a hurry, but make sure it’s a good quality one—ideally one that tastes nice and buttery. If you want to bake your own, check out my tips for the best flaky buttermilk scones; the principles for a good buttery pastry are similar!
Here is exactly what you need to create this utterly blissful dessert:
- 1 unbaked 9-inch pie crust (a nice, buttery crust pie shell is fantastic here)
- 1 cup granulated sugar
- 1/2 cup all-purpose flour
- 1/2 cup unsweetened cocoa powder—make sure it’s good quality, it makes a difference!
- 1/2 teaspoon salt
- 1/2 cup (1 stick) unsalted butter, melted completely
- 2 large eggs, lightly beaten
- 1 teaspoon vanilla extract
- 1/2 cup milk
- 1/2 cup chopped pecans or walnuts (if you want those little delightful surprises, otherwise skip them!)
That’s it! See? No heavy cream or tricky tempering needed. We’re mixing this by hand and getting straight to the good stuff.
Tips for Making a No-Fail Fudge Pie
Listen, I know how stressful it is when you are baking something truly special, hoping for that perfect texture and then… disaster! But this fudge pie is designed to be nearly foolproof. If you treat it right, you’ll have that incredible Homemade Fudge Pie everyone dreams about.
My biggest piece of advice for any baker trying to nail this is patience, especially at the end. You *must* let this gorgeous thing cool down completely after it comes out of the oven. It looks soft, and yes, the center is supposed to be gooey, but it needs time to firm up from molten lava into that perfect sliceable bite. If you dive in too soon, hello, soup!
Another critical point for making this a No-Fail Fudge Pie is to resist adding more milk or liquid if it looks thick. That thickness is the secret sauce for that dense fudge result!
Achieving the Perfect Fudgy Brownie Pie Texture
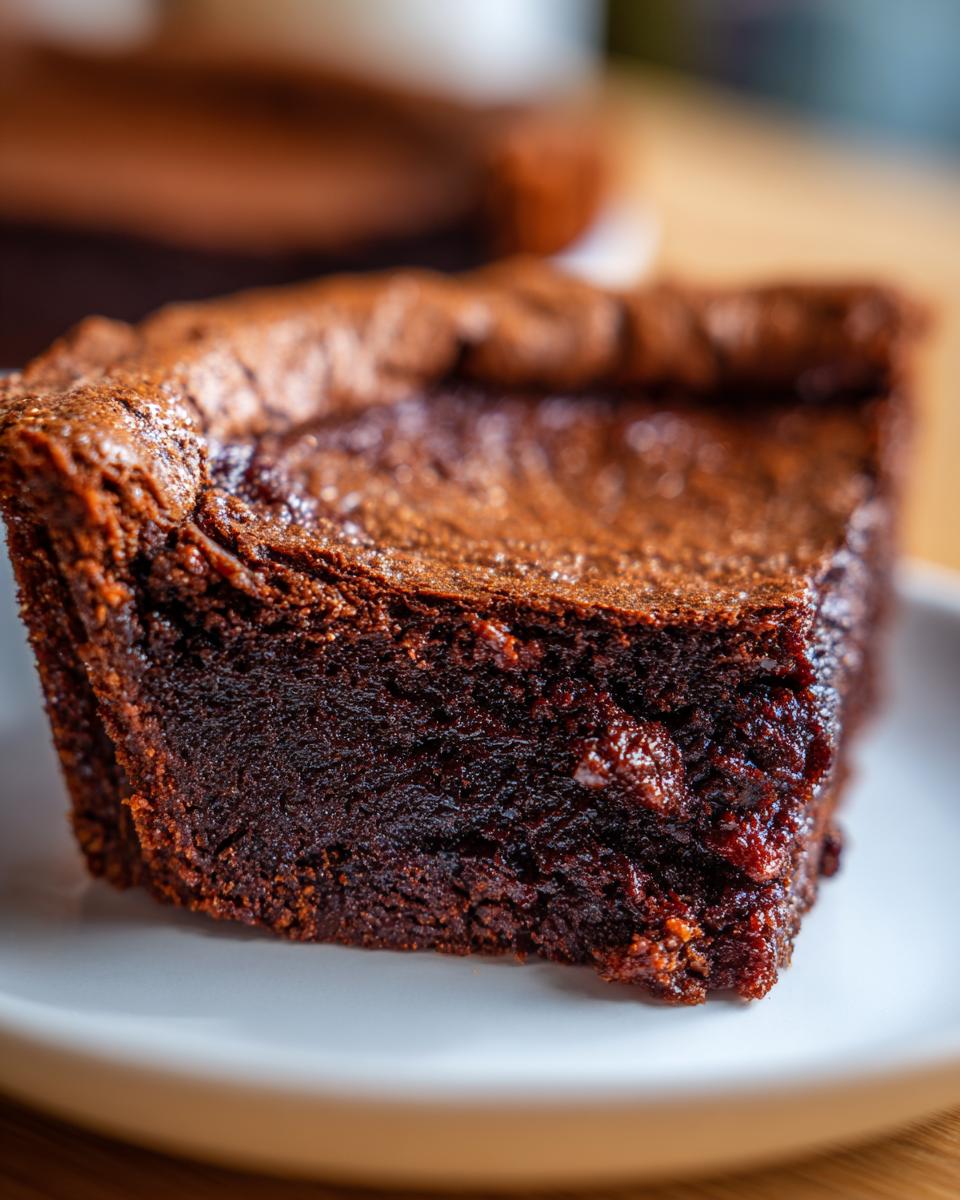
The magic that separates this amazing fudge pie from a standard chocolate pie comes down to simple ratios. The relationship between the sugar, the flour, and the cocoa powder creates that signature crackly, papery top you see on a great brownie. We control this balance by whisking those dry ingredients together diligently before we even think about adding the melted butter.
The flour content is low enough that it won’t bake up cakey, but just right to catch the chocolate and fat, setting that beautiful structure. Folks who love a Fudgy Brownie Pie will immediately recognize this texture—it’s dense, deeply chocolatey, and incredibly satisfying. Don’t mess with the sugar measurement; that’s what helps create that top crust!
If you love that crunch on top of a brownie, you might also enjoy my recipe for easy homemade toffee—it’s all about getting those perfect textural contrasts!
Step-by-Step Instructions for Your Fudge Pie Recipe
Okay, let’s get baking so you can finally dig into this incredible fudge pie! The beauty of this simple dessert is that everything happens right in the bowl. You don’t need a mixer, just a steady whisk and a little patience at the start. We’re aiming for that glorious, chewy texture, so measuring correctly on the front end is key.
First things first, get that oven hot! Preheat it to 350 degrees F. I always pop the pie shell onto a sturdy rimmed baking sheet before filling it. Trust me on this—it makes moving it in and out of the hot oven so much easier, especially when you’re dealing with a delicate, buttery crust like we love for this dessert.
Mixing the Rich Chocolate Fudge Filling
Grab a medium bowl because we start by whisking all our dry ingredients together: the sugar, flour, cocoa powder, and salt. Whisk them really well until you see no more pockets of just one ingredient. This dry mix ensures everything is evenly distributed. Once that’s looking good, move to the wet stuff. Pour in the melted butter, the lightly beaten eggs, the vanilla, and the milk. Now, mix it gently with that whisk until it’s just smooth. I mean it, stop mixing when it’s combined! Overmixing develops gluten, and we want fudgy softness, not chewiness here. If you are adding nuts, stir them in quickly right at the end.
Baking and Cooling Your Homemade Fudge Pie
Carefully pour that gorgeous, thick fudge pie batter into your prepared, unbaked crust. Pop that baking sheet straight into the preheated oven. You’re looking for about 40 to 45 minutes of baking time. Here’s the visual cue you need: the edges should look mostly set, maybe even slightly cracked, but the absolute center will still wobble a tiny bit, just like a perfect brownie!

This is the hardest part: you have to let your Homemade Fudge Pie cool completely on a wire rack. I know, I know, the smell is dizzying, but if you cut into it too soon, it will just run everywhere. Cooling allows that fudgy structure to set perfectly, so resist that urge for at least an hour or two. If you need more chocolate inspiration while you wait, check out my recipe for chocolate crinkle cookies!
Serving Your Decadent Chocolate Dessert Fudge Pie Warm
Now comes the fun part: deciding how to eat this heavenly fudge pie! Even though I insisted you let it cool down to set, that doesn’t mean it has to be served cold. In fact, if you’re craving that ultra-gooey, melted chocolate experience, this pie is fantastic warm.
If you’ve already let it fully set up, you have two options for reviving that glorious texture. You can either pop individual slices into the microwave for about 15 to 20 seconds, or you can gently reheat the entire pie, covered loosely in foil, at 300 degrees F for about 10 minutes. This is where we nail that ultimate Hot Fudge Pie Recipe vibe!
To maximize that Decadent Chocolate Dessert feel, you absolutely must pair it with something cold. A big scoop of good vanilla bean ice cream melts beautifully over the warm chocolate. Honestly, a dollop of freshly whipped cream is also heavenly. If you’re having a snowy night, you could pair it with a mug of my hot cocoa mix. Just be sure to check out the recipe I found for another amazing version over at Tasty Fitness Recipes!
Ingredient Notes and Substitutions for This Fudge Pie
When I was first trying to perfect this decadent chocolate treat, I realized that certain components really help carry the flavor. It’s not just about what you put in, it’s about what you choose to put in. Since this recipe is so simple, the quality of the ingredients really shines through, so choosing well makes a big difference.
Let’s talk crust first. I mentioned in the instructions that I love a good, flaky, buttery crust pie shell, but I know life is busy! If you grab a good quality store-bought crust, you’re halfway there. Just remember our filling bakes up rich and moist, so pre-baking the crust isn’t necessary here—we pour the batter right into that raw shell. If you want a truly gourmet experience, check out my directions for white chocolate fudge sometime; seeing how different fats behave is fascinating!
Now, about those nuts—pecans or walnuts? Totally up to you! They are completely optional, but I find that a little crunch keeps the density of the fudge from feeling too heavy. If you have allergies, please skip them! The fudge pie is fantastic with or without them.
My biggest recommendation, outside of the crust, concerns the cocoa. You must use unsweetened cocoa powder. If you accidentally grab Dutch-processed cocoa, the results won’t be quite the same because it reacts differently with the acid balance in the recipe, affecting that crackly top. Stick to standard unsweetened cocoa for the best, most authentic Homemade Fudge Pie result. Don’t worry about fancy European brands; your standard grocery store container will do the trick just fine here!
Storing and Keeping Your Old Fashioned Pie Recipe Fresh
Don’t you hate it when you have leftover bits of something truly amazing? With this ultra-rich fudge pie, you might actually have leftovers, though I doubt it! But if you do, storing it correctly is crucial to making sure that gooey center doesn’t turn into a hard brick overnight. Since this is an Old Fashioned Pie Recipe that relies on that soft, almost under-baked middle, temperature matters!
If you plan on eating the rest of the pie within a day or maybe two, you can keep it covered tightly at room temperature. The high sugar content does a decent job of protecting it for a short time. Cover the pie dish snugly with plastic wrap or put it in an airtight container. Keep it away from any direct heat or light, of course.
If you need it to last longer—say, up to five days—you really should move it to the refrigerator. Just know that the cold is the enemy of gooeyness! When you take it out of the fridge, the filling will have definitely firmed up quite a bit, making for a denser slice similar to a chilled fudge. That’s okay, though; we have a fix for that!
For reheating, which I highly recommend if you chilled it, remember what we talked about serving it warm. A quick warm-up brings back that lovely, soft texture. You can either microwave a slice for about 15 to 20 seconds, or if you’re heating the whole thing up, cover it loosely with foil and place it in a preheated oven at 300 degrees F for about 10 minutes. Just keep an eye on it so you don’t accidentally overbake that beautiful fudge texture. If you want to save leftover tips for other goodies, check out my recipe for moist date nut bread—storage is very similar!
Frequently Asked Questions About Making Fudge Pie
I know you might have a few burning questions when you see a gorgeous, rich dessert like this fudge pie staring back at you. It’s natural to wonder how it differs from other famous chocolate desserts, or if you can quicken the process even more. I’ve gathered the most common questions I get about keeping this Chocolate Fudge Pie Recipe foolproof!
What is the difference between this fudge pie and a Southern Chocolate Pie?
That’s a fantastic question, and honestly, it’s all about the texture when they come out of the oven. A classic Southern Chocolate Pie relies heavily on cornstarch or eggs (sometimes both!) to set up into a smooth, creamy custard filling—think of it as a firm, but smooth, pudding in a shell. This fudge pie, on the other hand, is much denser. Because of our flour, sugar, and fat ratio, it bakes up with the texture of a fudgy brownie—it’s richer, chewier, and much less custard-like. It’s definitely more of a Comfort Food Dessert!
Can I make this an Easy Fudge Pie using a different crust?
Absolutely yes, you can keep this an Easy Fudge Pie! That’s the beauty of this recipe; it works great with a store-bought crust. You can use graham cracker crusts, but honestly, I think the richness of the chocolate filling really sings best when paired with a standard, flaky, salty-sweet crust (that suggested Buttery Crust Pie). If you use a store-bought crust that is already pre-baked, you might need to watch the baking time just slightly, but since this recipe bakes with an unbaked crust, you shouldn’t have to worry about blind-baking anything!
If you’re looking for other quick dessert hacks once you’ve mastered this, take a look at my tips for the best bakery-style blueberry muffins—those can be made lightning fast, too!
How do I make sure the center stays gooey in my Homemade Fudge Pie?
This is the crucial secret to calling it a Hot Fudge Pie Recipe or a Molten Chocolate Pie! You have to pull it out before you think it’s ready. When the edges look firm and set, and maybe even a little crackly, but the very center still jiggles slightly when you gently nudge the pan—that is when you take it out. I promise, even if it looks underdone, carryover cooking while it cools on the rack will finish the process to that perfect, dense, fudgy stage. If you cook it until the center is firm, you just made a regular chocolate cake!
Is this recipe rich enough to count as a Holiday Chocolate Pie?
Oh honey, yes! This fudge pie is the definition of a Holiday Chocolate Pie. It’s intensely chocolatey, deeply satisfying, and frankly, it screams ‘special occasion.’ You can make it even fancier by topping it with a dusting of flaky sea salt, or serving it warm with a drizzle of caramel sauce. It’s just as impressive as any layered cake but takes half the fuss. It truly lives up to the title of Decadent Chocolate Dessert!
Estimated Nutritional Information for This Fudge Pie
Before you rush off to bake the best fudge pie of your life, I wanted to be upfront about the nutrition side of things. Let’s call this what it is: it’s a truly decadent treat, perfect for holidays or when you just need that incredible hit of chocolate. You won’t find this as a light dessert, and honestly, why would you want it to be?
We used simple, classic ingredients—sugar, butter, flour, cocoa—so the figures reflect a rich, comforting dessert. If you’re making substitutions, like cutting back on the sugar or using a low-fat crust, these numbers will obviously change. I always say, life is too short for low-fat dessert when you can have the real thing, right?
Here are the estimated numbers based on my recipe breakdown, using the standard ingredients listed, yielding 8 generous slices:
- Serving Size: 1 slice
- Calories: 350
- Sugar: 35g (Yes, a good amount; that’s the fudge talking!)
- Total Fat: 18g
- Saturated Fat: 9g
- Protein: 6g
- Carbohydrates: 45g
- Fiber: 3g
- Sodium: 200mg
- Cholesterol: 75mg
Please remember, these are just estimates! They are calculated based on generic ingredient breakdowns. If you use a different brand of butter or a store-bought crust with different sugar content, your final counts will vary slightly. This Rich Chocolate Dessert is best enjoyed with a big glass of milk or, even better, a scoop of vanilla ice cream! These numbers are just a guideline, not a mandate!
If you need a lighter snack option later in the week, you might want to save my recipe for easy no-bake protein balls. Happy baking!
PrintThe Ultimate Gooey Old-Fashioned Fudge Pie
Make this rich, decadent fudge pie that tastes like a warm brownie in a pie shell. This old-fashioned recipe uses simple ingredients for a foolproof, gooey chocolate dessert perfect for any occasion.
- Prep Time: 15 min
- Cook Time: 45 min
- Total Time: 60 min
- Yield: 8 servings 1x
- Category: Dessert
- Method: Baking
- Cuisine: American
- Diet: Vegetarian
Ingredients
- 1 unbaked 9-inch pie crust (buttery crust recommended)
- 1 cup granulated sugar
- 1/2 cup all-purpose flour
- 1/2 cup unsweetened cocoa powder
- 1/2 teaspoon salt
- 1/2 cup (1 stick) unsalted butter, melted
- 2 large eggs, lightly beaten
- 1 teaspoon vanilla extract
- 1/2 cup milk
- 1/2 cup chopped pecans or walnuts (optional)
Instructions
- Preheat your oven to 350 degrees F. Place the unbaked pie crust onto a baking sheet.
- In a medium bowl, whisk together the sugar, flour, cocoa powder, and salt until combined.
- Add the melted butter, eggs, vanilla extract, and milk to the dry ingredients. Mix with a whisk until the batter is smooth. Do not overmix.
- If using, stir in the chopped nuts.
- Pour the rich chocolate fudge filling carefully into the unbaked pie crust.
- Bake for 40 to 45 minutes. The edges should look set, but the center will still be slightly soft and gooey, similar to a brownie.
- Remove the fudge pie from the oven and let it cool completely on a wire rack before slicing. This allows the gooey center to set properly.
- Serve this homemade fudge pie at room temperature or slightly warm, perhaps with vanilla ice cream for a truly decadent chocolate dessert experience.
Notes
- For a Hot Fudge Pie Recipe Easy variation, serve the pie warm with a scoop of ice cream.
- This recipe creates a texture similar to a Fudgy Brownie Pie.
- You can use a pre-made crust to make this an Easy Fudge Pie.
Nutrition
- Serving Size: 1 slice
- Calories: 350
- Sugar: 35
- Sodium: 200
- Fat: 18
- Saturated Fat: 9
- Unsaturated Fat: 9
- Trans Fat: 0
- Carbohydrates: 45
- Fiber: 3
- Protein: 6
- Cholesterol: 75