
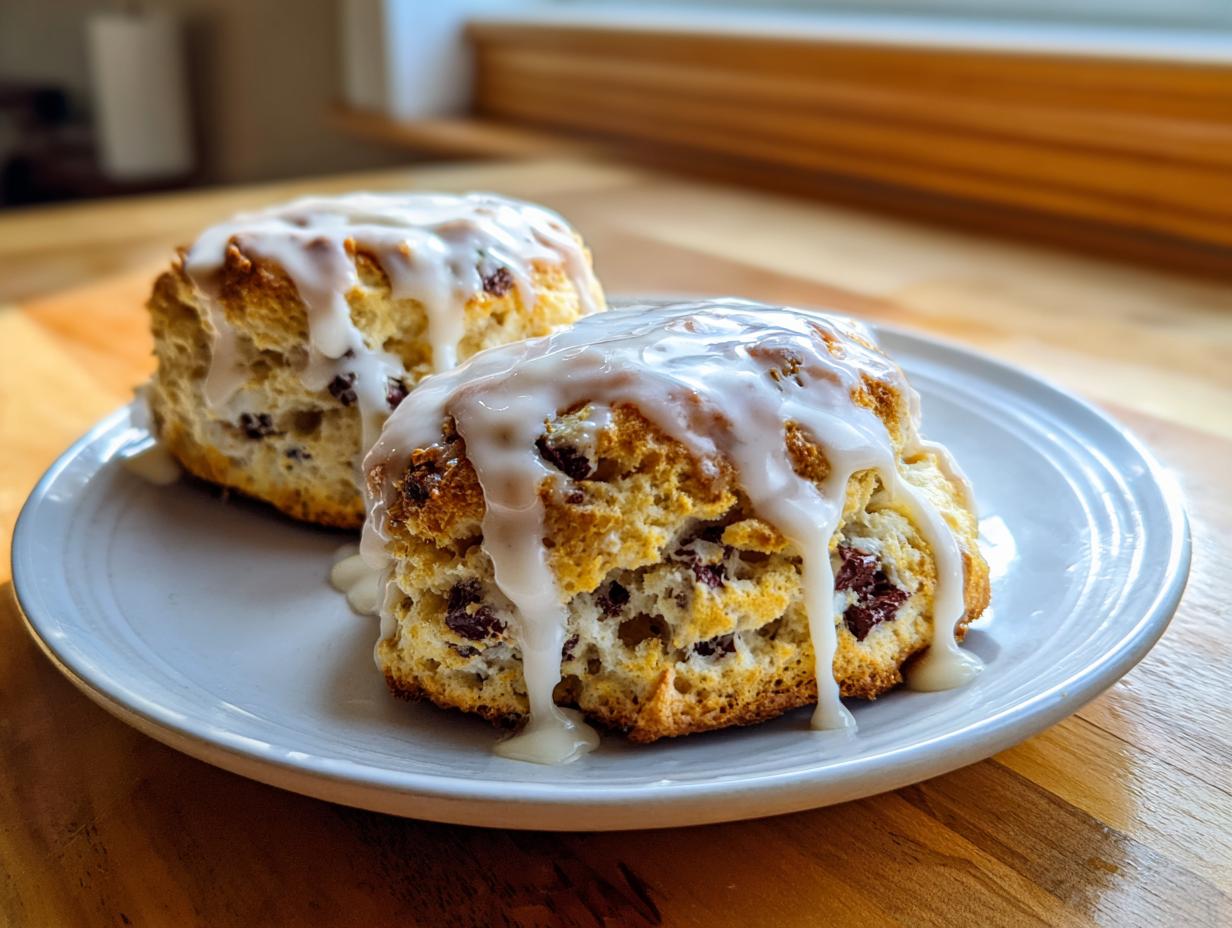
There is just something magical about pulling a tray of warm, fresh-baked treats out of the oven, isn’t there? Especially when those treats arrive in under an hour! I’m Olivia, and when I started DelishCraze, I craved exactly this feeling: making something incredibly special without turning my entire afternoon into a complicated chore. That’s why I put together this easy sweet snacks recipes collection, starting with these chocolate chip scones. Forget those dry, hockey-puck scones you sometimes get out; we are making bakery-style, flaky, buttery beauties right here. It’s about reclaiming those simple, joyful moments in the kitchen, even when life gets busy!
- Why This is the Best Bakery Style Chocolate Chip Scones Recipe
- Gathering Ingredients for Perfect Chocolate Chip Scones
- How to Prepare Tender Scone Technique Chocolate Chip Scones
- Creating the Perfect Scones with Vanilla Glaze
- Tips for Success with Your Chocolate Chip Scones
- Storage and Reheating Instructions for Chocolate Chip Scones
- Serving Suggestions for Your Brunch Scone Ideas
- Frequently Asked Questions About Making Chocolate Chip Scones
- Estimated Nutritional Information for Chocolate Chip Scones
Why This is the Best Bakery Style Chocolate Chip Scones Recipe
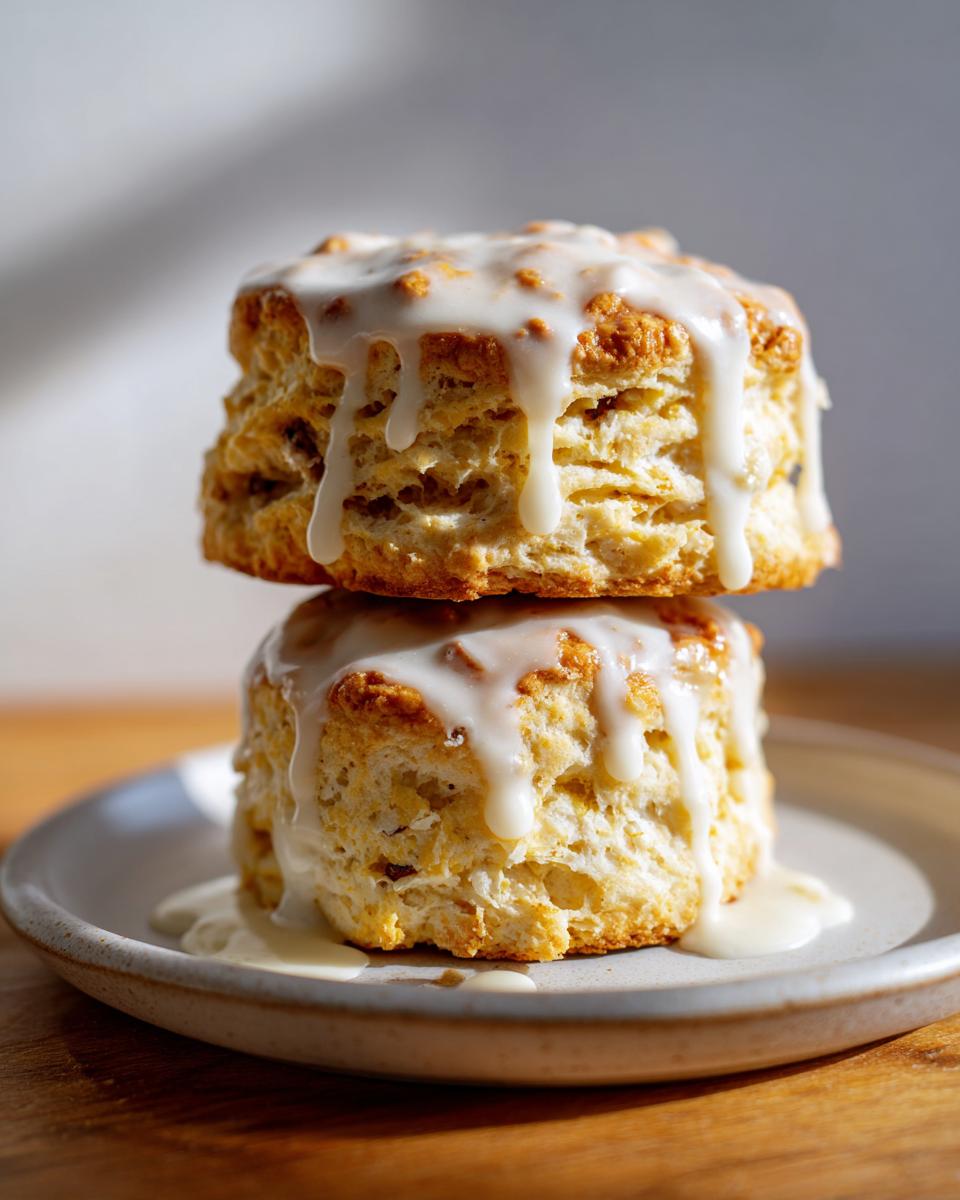
When I set out to make the ultimate chocolate chip scones, I knew they had to measure up to those tall, soft treats you find at the very best coffee shops. This recipe isn’t just fast; it’s engineered for that tender, buttery texture everyone craves. Seriously, these come together so fast it feels like cheating!
- They deliver that signature buttery and tender texture that makes you think of a perfect biscuit or a delicate cookie.
- The technique ensures real flaky layers, lifting them high off the pan.
- It fits perfectly into a busy morning; we aren’t waiting around for anything!
If you want more tips on getting that perfect structure, check out my guide on the best flaky buttermilk scones recipe.
Achieving Flaky Scones Recipe Texture
Flakiness is all about temperature, my friend. That beautiful lift happens because we are using ice-cold butter. When the cold butter hits the hot oven, it creates little pockets of steam. That steam forces the dough layers apart! That’s the secret to Mastering Scone Texture. If your butter is even slightly soft, you might lose that separation, so keep everything chilled!
Quick Scone Recipe Timing
This is why I love this recipe for spontaneous mornings! We’re talking just 15 minutes of prep time. In total, including the 18 minutes of baking, you have incredible, buttery breakfast pastry ready in about 33 minutes. It’s one of those quick baking recipes that feels like a huge payoff for almost no effort.
Gathering Ingredients for Perfect Chocolate Chip Scones
Okay, let’s talk supplies! Getting the right things ready is half the battle won, especially since we are relying on the coldness of our ingredients to do the heavy lifting for that flaky structure. For these chocolate chip scones, you’ll need two simple groups of items: the dough stuff and the glaze stuff. Get your chocolate ready, make sure your butter is tucked into the freezer for a minute until it’s super hard, and let’s get organized!
Ingredient Notes and Substitutions for Buttermilk Scones at Home
A few quick notes from my kitchen here about ingredients, because this is where we build that trust in quality:
- Butter is Non-Negotiable: You absolutely must use 1/2 cup (one whole stick) of unsalted butter that is COLD, cut into small cubes. I mean ice-cold! If it starts sticking to your fingers, pop it back in the freezer while you measure the flour. We need those chunks to stay intact until they hit the oven.
- Cream vs. Buttermilk: I gave you both options (heavy cream or buttermilk) because I love an easy swap. Heavy cream gives a richer result, but buttermilk adds that slight tang that cuts through the sweetness of the chocolate chips perfectly. If you don’t have buttermilk, don’t panic! Grab a liquid measuring cup, pour in 3/4 cup of regular milk, and stir in one tablespoon of white vinegar or lemon juice. Let it sit for five minutes until it curdles just a bit. That’s your homegrown buttermilk! It works wonders in these cinnamon rolls with heavy cream hack, and it’s perfect here too.
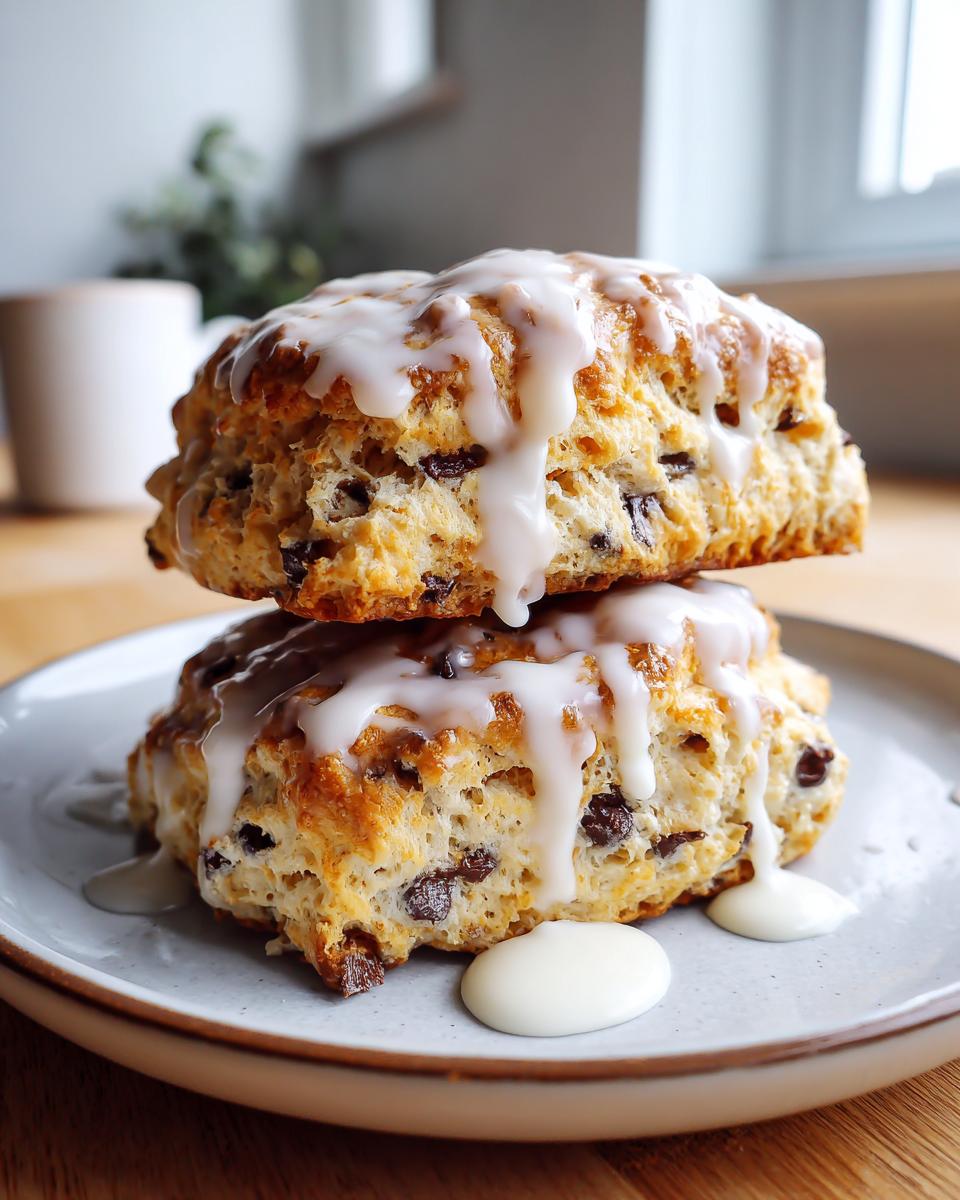
- Chocolate: I prefer semi-sweet, but if you like it darker, go for dark chocolate chunks. Just make sure you toss them with a tiny bit of flour before folding them in—this keeps them suspended in the batter instead of sinking to the bottom.
Here is the full list so you can grab everything you need:
For the Scones:
- 2 cups all-purpose flour
- 1/4 cup granulated sugar
- 1 tablespoon baking powder
- 1/2 teaspoon salt
- 1/2 cup (1 stick) cold unsalted butter, cut into small cubes
- 1 cup semi-sweet chocolate chips
- 3/4 cup cold heavy cream or buttermilk
- 1 large egg, lightly beaten (for egg wash, optional—this helps the sugar stick!)
- 1 tablespoon coarse sugar (for topping, optional—this adds that gorgeous bakery crunch!)
For the Sweet Vanilla Glaze (You’ll see more on this later!):
- 1 cup powdered sugar
- 2 tablespoons milk
- 1/2 teaspoon vanilla extract
How to Prepare Tender Scone Technique Chocolate Chip Scones
Now for the fun part! This is where we transform basic pantry staples into those incredible, melt-in-your-mouth chocolate chip scones you see pictures of. Remember, the goal here is tenderness and maximizing those flaky layers. Don’t rush the mixing, and definitely don’t overwork the dough—that’s the secret to a perfect tender scone technique!
First off, make sure your oven is preheated to 400°F (200°C). I always line my baking sheet with parchment paper; it just makes cleanup so much easier, and honestly, who needs sticky bottoms?
Mixing the Dough for Optimal Chocolate Chip Scones
In your biggest bowl, whisk together your dry ingredients: the flour, sugar, baking powder, and salt. Next comes the cold butter cubes. This is critical! You need to use your fingertips or a pastry blender to ‘cut’ that butter into the flour. Keep working it until that mixture looks like coarse crumbs, and you can still see some small, pea-sized chunks of butter scattered throughout. Those chunks? They are your flavor bombs and steam pockets! Then, gently stir in your chocolate chips. Please don’t skip my tip about dusting the chips in a little flour first!
Pour in your cold heavy cream or buttermilk. You are just mixing this with a fork until the dough barely clings together. Trust me, it needs to look a little messy—shaggy, even! If you mix until it’s smooth, you’ve gone too far, and you’ll end up with something tough instead of our lovely soft flaky Southern buttermilk biscuits recipe.
Shaping and Baking Your Buttery Breakfast Pastry
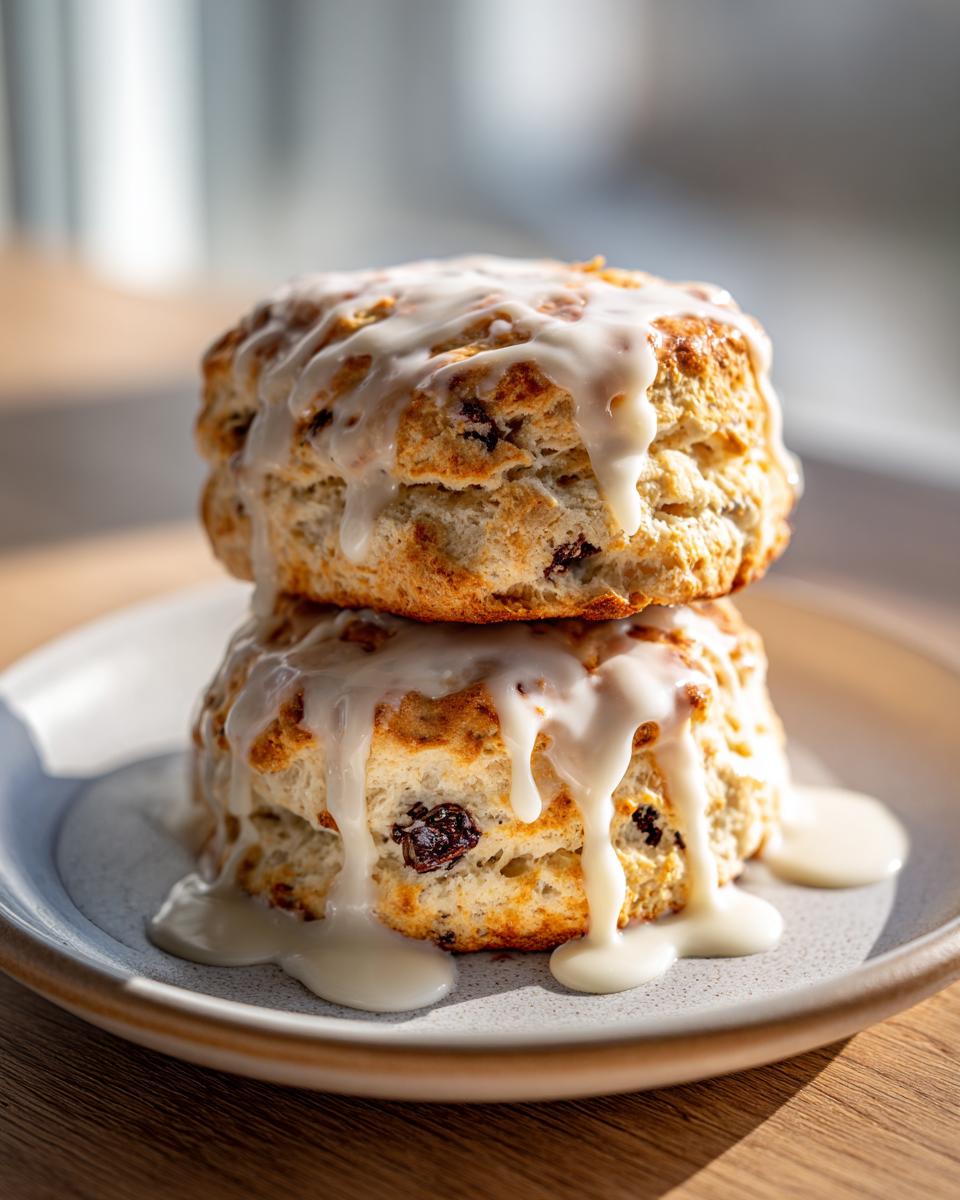
Turn that shaggy mess onto a lightly floured surface. Be gentle! Pat it into a thick circle, about 3/4 of an inch thick. Think of it like a large, rustic, beautiful disk. Now, grab a sharp knife and cut that disk into 8 equal wedges, like you’re cutting a pizza. Try not to twist the knife as you cut; that can seal the edges and stop the scones from rising tall!
Place those 8 wedges onto the prepared sheet, leaving a bit of space between them to breathe while they bake. If you want that true bakery style scones tutorial look and extra crunch, lightly brush the tops with the beaten egg and sprinkle that coarse sugar right over the top. Pop them into the 400°F oven for 15 to 18 minutes. You’ll know they are done because the tops will be beautifully golden brown!
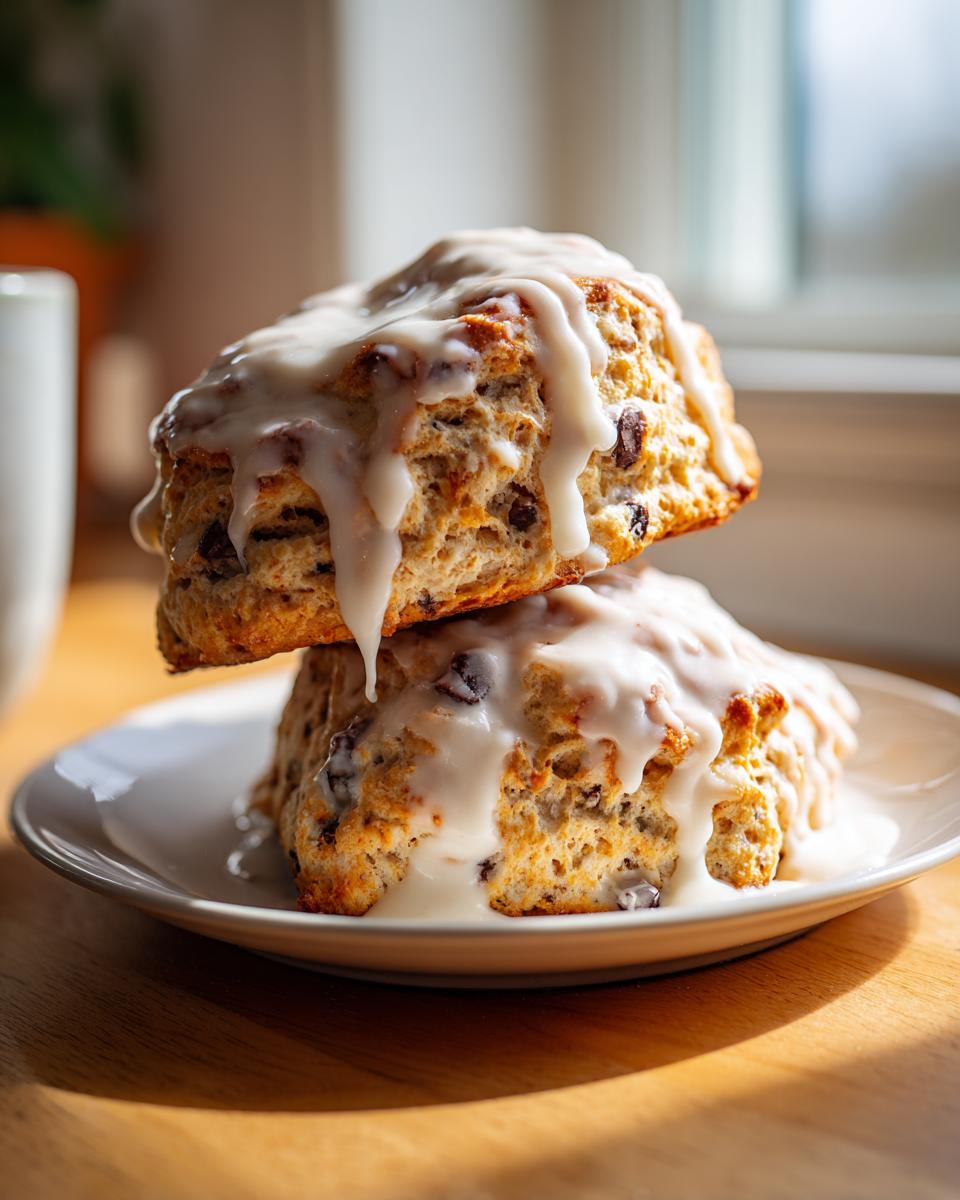
Creating the Perfect Scones with Vanilla Glaze
Okay, the scones are golden and cooling—now we need to take them over the top! I know some folks like their chocolate chip scones plain, but a vanilla glaze makes them feel like a celebration, honestly. It’s so simple, but it adds that final touch that screams “bakery quality” right at home. Don’t you just love how a little bit of sugary drizzle completely transforms things?
This is where we use the three glaze ingredients we listed earlier. You want to whisk everything together in a small bowl. I always start with just one tablespoon of milk and the vanilla extract. You’re stirring and watching the consistency. You want it thick enough so it drips slowly, not runs off like water. If it gets too thick—and I mean, powdered sugar is moody sometimes—just add the second tablespoon of milk slowly, a teaspoon at a time, until you hit that perfect thick, pourable ribbon.
Once the scones have cooled down just a tiny bit (they shouldn’t be piping hot, or the glaze will melt completely away, which is messy, trust me!), grab a fork or a small spoon and drizzle that sweet goodness all over the tops. It sets up pretty quickly, giving you those lovely crispy ribbons of sweetness over the tender pastry. It’s stunning!
If you’re looking for other simple sweet finishes, you can check out my formula for easy 3-ingredient fudge recipe—it’s fun to see how simple ingredients combine in different ways!
Tips for Success with Your Chocolate Chip Scones
Honestly, the recipe steps are straightforward, but the *success* of chocolate chip scones—that light, buttery, flaky reward—comes down to respecting a few non-negotiable rules I learned trying to get these right. Think of these as the little secrets that separate a good scone from the homemade copycat coffee shop scones you dream about.
First thing first, I need to stress temperature control. This is the biggest takeaway I have for everyone wanting to bake a truly great buttery breakfast pastry.
- Keep it Cold, Keep it Quick: Remember how we talked about keeping the butter ice-cold when cutting it into the flour? Do that! If you can feel your dough warming up even slightly while you’re mixing or patting it out, just stop. Slide the entire mass back into the fridge for ten minutes. I know patience isn’t always our strong suit when we have yummy quick baking recipes waiting, but seriously, this cold management is how you prevent a tough scone.
- Handling is Minimal: When you turn the dough out onto the counter, handle it as little as humanly possible. Overworking develops gluten, and gluten equals chewiness—and we want flaky tenderness, not chewiness! Mix only until the wet and dry ingredients *just* hold together. If you’re tempted to knead it until it looks smooth, please don’t—that’s a sure route to flat, dense easy homemade scones.
- Enjoy Them Fast: This is a slightly sad but true note. Like most really buttery baked goods, these chocolate chip scones are absolutely at their peak on the day you bake them. The cold butter means they lose that incomparable texture slightly faster than, say, a loaf cake. Make sure to save a couple to eat with your morning coffee, because that initial bite is unbeatable!
If you want to practice some other tricky textures, check out my notes on getting the perfect bite in my best chewy old-fashioned fruitcake cookies—it’s all about ingredient manipulation!
Storage and Reheating Instructions for Chocolate Chip Scones
Oh, the eternal question: what do I do with the leftovers when I’ve baked too many (which is always)? Look, I won’t lie to you—these beautiful, buttery chocolate chip scones are truly best enjoyed the very day they come out of the oven. That perfect, delicate flakiness fades a little overnight, but don’t worry, we have ways to manage the situation!
If you have extras, don’t just stick them in a plastic bag! You want to keep them away from too much air, but you don’t want to trap too much moisture inside, either, or they lose that lovely crisp exterior. The best way to store unfrosted scones is in an airtight container at room temperature. I usually line the bottom of the container with a paper towel first just to absorb any stray moisture. They should stay perfectly good like this for about two days.
If you made some extra glaze—or you want to glaze them later—keep the glaze separate. Store the glaze in a little airtight jar in the fridge. It will get stiff, but you can loosen it up later with a tiny splash of milk. Don’t glaze the leftovers until you are ready to eat them; otherwise, that sugar coating gets sticky and we lose that nice shine!
When you are ready for a second-day scone, here’s my trick for reviving them. Pop the individual scone onto a baking sheet and give it just a few minutes—maybe 3 to 5—in a 300°F (150°C) oven. It warms the butter just enough to bring back some of that incredible fresh-baked softness without making them heavy. It’s my little trick for enjoying leftovers almost as freshly baked as the first batch. For more tips on keeping baked goods soft, check out my guide on the easy moist lemon loaf recipe with glaze!
Serving Suggestions for Your Brunch Scone Ideas
These chocolate chip scones are total superstars all on their own, right? But since we’re talking about making the most of your weekend baking, let’s elevate this treat into a full-blown event. Whether you’re planning a cozy morning for yourself or hosting a big brunch scone ideas gathering, pairing them correctly makes all the difference.
They are, by nature, a rich, buttery breakfast pastry, so you want accompaniments that either complement that richness or cut through it slightly. Don’t overcomplicate it; sometimes simple is best!
- Coffee Pairings: Obviously, a warm scone needs a great beverage partner. A strong, bold cup of black coffee is perfection against the sweetness of the chocolate chips and the vanilla glaze. If you love that coffee flavor integrated into your bakes, you definitely need to try my recipe for coffee cake with sour cream streusel!
- The Tea Time Classic: If you lean towards tea, a robust Earl Grey or a classic English Breakfast blend stands up beautifully. Traditionally, scones are served with clotted cream and jam, and while these already have chocolate, a tiny smear of tart raspberry jam or a good quality strawberry preserve adds a lovely fruity counterpoint.
- The Savory Contrast: Hear me out! If you are making a big brunch spread, balance the sugar with something savory. These scones are so rich they actually work well alongside a small side of something savory, like a very simple bacon or sausage link. If you need quick side help, my recipe for easy homemade brown gravy (used for biscuits, but imagine it dolloped on a sausage patty next to your scone!) can get you there fast.
The main thing is to serve them slightly warm so those chocolate chips are just starting to melt. That, my friends, is peak comfort food!
Frequently Asked Questions About Making Chocolate Chip Scones
I get so many messages asking about little tweaks or troubleshooting tips when making chocolate chip scones, and that’s wonderful! It means you’re getting in the kitchen and baking, which is exactly what I want for you. Here are the questions I hear most often about achieving that perfect tender scone technique at home.
Can I make these chocolate chip scones ahead of time?
Yes, you absolutely can! That’s one of the great things about these easy homemade scones—they are great for weekend prep. You can mix the dough right up to the point where you cut them into wedges (Step 6 in the instructions). At that stage, place the wedges on the baking sheet, cover them tightly with plastic wrap, and pop the whole tray in the fridge for up to 24 hours. Since the butter needs to stay cold, the fridge is perfect.
When you’re ready to bake, pull them straight from the fridge, brush with the egg wash, sprinkle the sugar, and add an extra 3 to 5 minutes to the baking time since they are starting colder. Don’t worry about over-proofing; the baking powder does its job quickly, so they won’t deflate!
Why are my homemade scones tough instead of tender?
If your buttery breakfast pastry ended up tough, I can almost guarantee you overworked the dough at some point. Remember how I told you the dough should look shaggy and messy when you pour in the cream? That’s your cue to stop mixing immediately! Toughness comes from overdeveloping the gluten in the flour, which is exactly what happens when you stir or knead too much.
For the flakiest result, you want just enough moisture added so the dry ingredients hold together when you gently pat them into a disk. If you smooth it out like you would bread dough, you’ve gone too far and sealed in the toughness. It’s all about gentle handling!
What is the best way to cut scones for height?
This seems like a small thing, but it truly impacts how tall your flaky scones recipe turns out! When you cut those wedges from your round or square shape, use a sharp knife and press straight down firmly without twisting or sawing back and forth. Twisting seals the cut edges. If the edges are sealed when they go into the oven, the dough can’t “breathe” and separate into layers, which means less rise and less flakiness.
Also, try to handle the cut wedges as little as possible between cutting and placing them on the sheet. If you have time, after cutting them, pop the sheet back into the freezer for 10 minutes before the egg wash. This ensures those edges are rock hard and ready to blast upwards in that hot oven! If you’re looking for other dipping ideas after you’ve mastered the bake, check out my easy chocolate dip recipe—it’s great for dipping the edges of leftover scones!
Estimated Nutritional Information for Chocolate Chip Scones
I always encourage everyone to enjoy home baking without stressing too much over the numbers, but I know some of you like to keep track! Since every ingredient, from the brand of chocolate chips to the exact fat content in the cream, can shift things around, please remember these values are just a guide for one whole scone.
These estimates are based on the full recipe yielding 8 servings. If you end up with 10 mini scones, your per-scone values will change significantly!
- Serving Size: 1 scone
- Calories: 350
- Fat: 19g
- Saturated Fat: 11g
- Trans Fat: 0g
- Carbohydrates: 42g
- Sugar: 20g
- Fiber: 1g
- Protein: 5g
- Cholesterol: 55mg
- Sodium: 250mg
Just a quick but important note from me: These are approximations! If you swap the semi-sweet chips for milk chocolate, or if you use a different type of cream, these numbers will adjust. I never want anyone to feel like they can’t enjoy a wonderfully tender scone technique masterpiece because of exact dietary tracking. Bake with joy, and use this information as a general guideline!
PrintBakery-Style Chocolate Chip Scones with Vanilla Glaze

Make tender, buttery chocolate chip scones that achieve bakery-quality flakiness at home. This easy recipe is perfect for a special breakfast or brunch treat.
- Prep Time: 15 min
- Cook Time: 18 min
- Total Time: 33 min
- Yield: 8 servings 1x
- Category: Breakfast
- Method: Baking
- Cuisine: American
- Diet: Vegetarian
Ingredients
- 2 cups all-purpose flour
- 1/4 cup granulated sugar
- 1 tablespoon baking powder
- 1/2 teaspoon salt
- 1/2 cup (1 stick) cold unsalted butter, cut into small cubes
- 1 cup semi-sweet chocolate chips
- 3/4 cup cold heavy cream or buttermilk
- 1 large egg, lightly beaten (for egg wash, optional)
- 1 tablespoon coarse sugar (for topping, optional)
- For the Glaze: 1 cup powdered sugar, 2 tablespoons milk, 1/2 teaspoon vanilla extract
Instructions
- Preheat your oven to 400°F (200°C). Line a baking sheet with parchment paper.
- In a large bowl, whisk together the flour, granulated sugar, baking powder, and salt.
- Add the cold, cubed butter to the dry ingredients. Use a pastry blender or your fingertips to cut the butter into the flour until the mixture resembles coarse crumbs with some pea-sized pieces of butter remaining. This step is key for flaky layers.
- Stir in the chocolate chips until they are evenly distributed.
- Pour in the cold heavy cream or buttermilk. Use a fork to gently mix until the dough just comes together. Do not overmix; the dough will look shaggy.
- Turn the dough out onto a lightly floured surface. Gently knead it 3 or 4 times until it holds together. Pat the dough into a 3/4-inch thick circle or rectangle.
- Cut the dough into 8 equal wedges (like a pizza) or use a round cutter. Place the scones onto the prepared baking sheet, leaving about 1 inch between them.
- If using an egg wash, brush the tops lightly with the beaten egg and sprinkle with coarse sugar for a crisp finish.
- Bake for 15 to 18 minutes, or until the tops are golden brown.
- While the scones cool slightly, prepare the glaze: Whisk together the powdered sugar, milk, and vanilla extract until smooth. Add more milk, one teaspoon at a time, if the glaze is too thick.
- Drizzle the vanilla glaze over the warm scones before serving.
Notes
- Keep your butter and cream very cold. Cold ingredients create steam in the oven, which results in tall, flaky scones.
- For extra tall scones, gently fold the dough over itself a couple of times before cutting the wedges.
- These scones are best enjoyed the day they are baked, but you can store leftovers in an airtight container at room temperature for up to two days.
Nutrition
- Serving Size: 1 scone
- Calories: 350
- Sugar: 20g
- Sodium: 250mg
- Fat: 19g
- Saturated Fat: 11g
- Unsaturated Fat: 8g
- Trans Fat: 0g
- Carbohydrates: 42g
- Fiber: 1g
- Protein: 5g
- Cholesterol: 55mg